Wednesday, May 3, 2017

Final project

Final Images - Glowsticks are awesome

My initial project proved to be far too complicating with not only set-up but an environment that was mostly out of my control, but I stayed true to my glowsticks vision. Using the glowsticks I had and knowing that waving them around in a dark environment with a 10-30 second exposure would result in colorful streaks I went ahead and devised a plan. This plan would include a speedlight which would freeze the subject in the blackened environment that I and the model were working in.  The process was to press the shutter, the speedlight would flash, I would then enter the scene, and trace the model or move glowsticks around the model in a dark environment before the shutter closed, usually around 25 seconds on average.  Below are the resulting images.

AURA - f/13  20 s  ISO 800   -.67
FIRE  f/14  25 s  ISO 1000  -.33
CURIOSITY f/14  20 s  ISO 1000  -.67

Some of the struggles I ran into were if I underexposed the model the glowsticks were most vibrant.  If the scene was overexposed or at least closer to a correct exposure, I could barely see the glowsticks.  Slighting underexposing kept the exposure time above 20 seconds which allowed me to work longer in the frame.  Then in post, I was able to adjust the the exposure of the subject.

Thursday, April 27, 2017

Assignment 12

PART 1

Photograph a shiny object.

f/25 1/60s ISO 100
I started with the light tent and while it did reduce reflections, I found the overall image flat.  My second attempt was to place the product on a white background in between two strobes.  One was set to -3 and other was set to a lower strength.  We noticed in the reflection you could see the rest of the room, so one of our group members had to hold a white board to remove the reflection that was occurring in the rounded portion of the bottom to the left.  I like the drama of the shadow as compared to the flat overexposed image the light tent creates.  In many cases that overexposed look is very appealing, but in this case I liked how with the image better as I liked the shadow and how the light streamed through the bottle.  I also like how there is a black strip cutting through the top of the bottle.

PART 2

Final Project

I would like to explore portraiture using long exposure.

I researched types of light painting and came across light painting portraits using flashlights.

http://photographystatistics.com/how-to-make-unique-portraits-using-light-painting

I had a ton of glowsticks that were left over from a project that proved to be far too complicated so I thought how can I use them in a portrait. 

I went ahead and began setting up the photo shoot based on my research.  Find a room that you can further darken which would be my basement.  Sounds creepy, but actually its not that bad. I set up the camera on a tripod with a speedlight attached (on camera flash).  Cracked a few glowsticks, blackened the lights, closed the door and turned off the lights.  And below is what I got.


f/13   20 s  ISO 800 Manual off camera flash 1/64
Go to my Final post to see what the resulting images looked like. 


Wednesday, April 19, 2017

Assignment 11

Assignment 11: Speedlights Part 2


Direct flash on camera Program mode

(P) - f/4.5, 1/60, ISO 125


Flash fill Aperture Priority mode

(Av) - f/4.0, .4 sec ISO 125


Bounce flash off the ceiling in Program mode

(P) f/4.5, 1/60 ISO 125

Direct flash off camera Program setting

(P) f/4.5, .8 sec, ISO 1000
 

Thursday, April 13, 2017

Assignment 10: Speedlight Flash Part 1

Image 1 - subject lit with on-camera flash, no modifiers

Image 1 - f/4.0 .3 sec ISO 800 Flash 1/1 Manual
Portrait using an on-camera speedlight set to Manual 1/1 mode.

Image 2 - subject lit with on-camera flash with modifier

Image 2 - f/3.5, 2 sec, ISO 800, 1/1 Manual Flash w/ Color Gel modifier 

Image 1 portrait recreated but with the use of a Color Gel.  Roughly the same settings.  


Image 3 - subject lit with flash off camera, no modifiers

Image 3 - f/5.9, 1/80 sec, ISO 100, 0+ ETTL Flash
Off-camera flash set to ETTL 0+ exposure.  You can clearly see where the flash is placed. 


Image 4 - subject lit with flash off camera with modifier

Image 4 - f/5.6, 1/80 sec, ISO 100, 0+ ETTL Flash w/ Color Gel modifier
Off-camera flash set to ETTL 0+ exposure.  You can clearly see where the flash is placed. 

Image 5 - subject lit with flash that shows movement

Image 5 - f/16, 6 sec, ISO 100, 0+ ETTL Flash  

In Image 5, speedlight is off-camera and to the subjects left at a 45 degree angle.   It was difficult to control the intensity of the continuous light to the subjects right in comparison to the weak strobe light. 


Image 6 - subject lit with flash - freestyle

Image 6 - f/6.3, 6 sec, ISO 100,

Here one speedlight is set-up in the back with a color gel and set to ETTL 0+.   Continous light from a flashlight (with a color gel) is reflected off of a mirror to create this blur of colorful movement.  This took several attempts.


Wednesday, April 5, 2017

Assignment 9

Make a photograph that demonstrates motion. You may either freeze your subject or show motion blur.
You must use at least one strobe.
Post: One photograph. Give a description of your setup and what you were trying to capture and how you achieved it in your image.

f/4 ISO 200 2 secs
I wanted to capture motion and I knew I wanted to use color.  I knew that setting up a continuous light with a color gel would give some motion with color and in conjunction with the strobe would freeze the action a bit.  The strobe flashed once in the beginning and than the subject moved within a 2 second period.  I liked the one above the most because the movement was contained within the backdrop.

f/3.5 ISO 100 3.2 secs
This is an extra photo that I was going to post originally, but found that my composition was sloppy.   It does however exhibit what happens when a strobe is flashed twice during a shutter speed set to three seconds.  In this case, continuous light was to my left and strobe to the right.  Strobe flashed with the camera and then manually flashed again at 3 seconds.  Both photos were achieved using the same set-up.  

Thursday, March 30, 2017

Assignment 8

Grids and Snoots

Each person will post their own images and analysis.

Research film noir portraits. Choose one photograph to replicate. Use AT LEAST two grids or one grid and one snoot.

Spend some time editing your image in Lightroom (convert it to black and white and adjust the lighting using all of the global and local adjustments available to you in the develop module.)

Post a description of your setup (drawing/diagram even better) and discuss how the grids helped you achieve the lighting in your portrait.

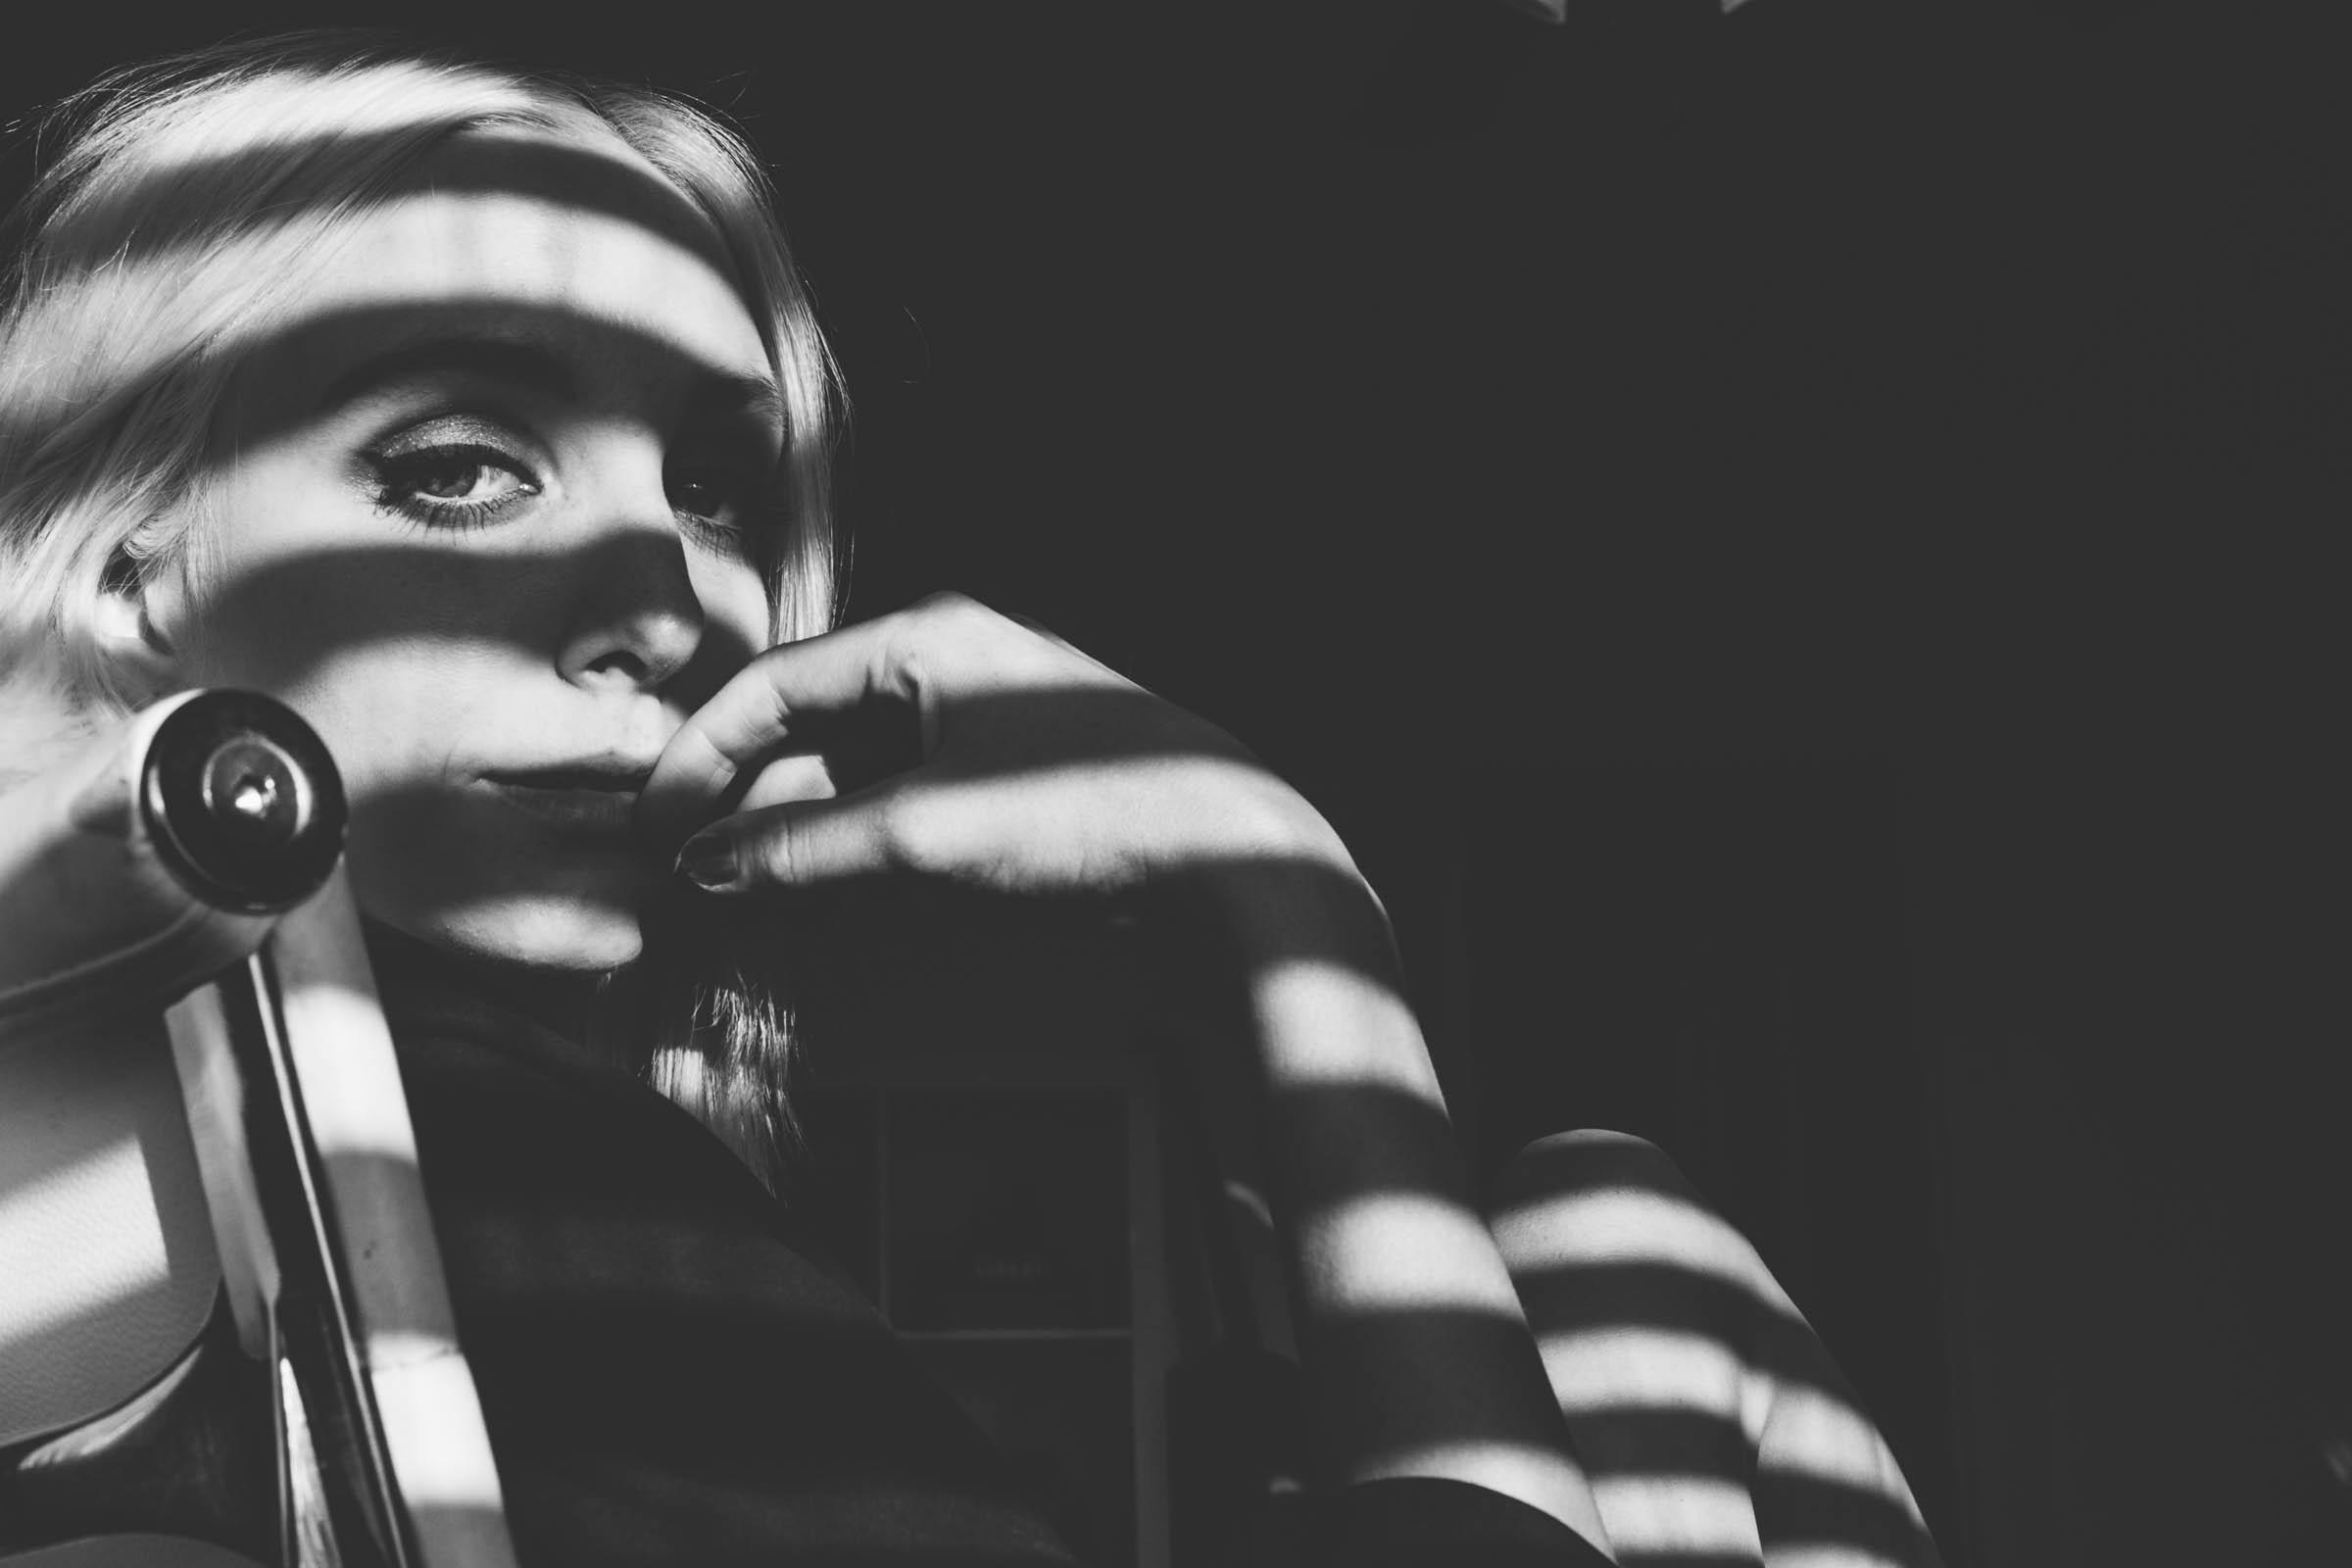
While researching film noir portraits I came across many, but wanted to try and tackle the film noir portrait that included shadow blinds in the photo.  I did my best to try and find a portrait that I felt I could replicate.  In the photo above, it appears that light is coming from one source and it may even be natural light streaming through a window with shades.

To try and produce blinds shadows on the subject/scene, I figured I would need to build something. Below is my creation.

Cardboard grid with black foil and tape.
I cut out slats in cardboard to replicate blinds and covered it in foil and black tape.  You could attach this to tripod or have someone hold the grid to have the light fall across the eyes.


f/3.5, 1/60, ISO 100  1600 Key light - 10' 100% 20 grid  1600 Fill light - 5' -5f quarter power
I chose a 20 grid for the key light hoping for a more intense and concentrated light on the subject and a 40 grid in the fill for a more diffused look.  Initially, the strobe continually blew out the shadow lines.   With this happening we did change the intensity of the key light a few times and then eventually moved the strobe far away from the subject (10') at full power.  With the grid close to the subjects face we began to notice lines showing up, however they were not to the thickness or shadow weight I was hoping for.  Because the assignment called for two grids or a grid and a snoot, I did add the fill light to the right which is not evident in the professional photo above.  We began to set up key and fill lights at first, but recognized it is best sometimes to start with one light and build from there. I would need to experiment further to really replicate the shadow seen in the professional photo above.


f/3.5, 1/60, ISO 100  1600 Key light - 10' 100% 20 grid  1600 Fill light - 5' -5f quarter power


Light set up.  Key to left, fill to right. Holding grid and photographer shoots subject to the right of grid


Wednesday, March 22, 2017

Assignment 7

Part 1: Take two photographs of a still life setup. The first will be with just the reflector on the 1600 strobe. Then, without moving the light at all, add the small white umbrella to the strobe & reflector and take another photo. (Don’t forget to meter for both pictures!) Describe the difference between the shadows and overall lighting in these two images.

1600 Strobe with Reflector - 1/60, f/18, ISO 100

1600 Strobe with Reflector and White Umbrella - 1/60, f/13, ISP 100
The two images utilize the same light source at the same distance but one diffuses the light with the use of an umbrella.  In the top image, the highlights are a little more blown out than in the bottom image that uses the umbrella, but not by much.  You see increased highlights in the flash which sits to the right of the camera (the viewers left).  What you really notice in the two images, is the softness of the shadow that casts to the back of the camera.  The shade of the shadow remains the same, perhaps because the light source distance has not been changed.  In 1600 strobe with reflector image, the bright direct light casts a well outlined shadow of the camera handle and camera, while the 1600 strobe with reflector and white umbrella image has a softened shadow.  The light source was about 3.5' away from the subject.  In the top image, I do see some more of the shadows pulled out.  If I had to choose between the two images, the second image with the umbrella is far more pleasing simply because the shadow adds to the photo and does not distract from the overall image.

Part 2: Then, take two portraits. Using, the large umbrella in one and the small umbrella in the other, your goal is to produce the same type of lighting in each photograph. Think about subject placement, the light, and the background. Measure and record the distance of each light source from the subject and then describe how you came to this conclusion. It may be be useful to use a tripod for this so that you are not changing the camera angle much.

1600 Strobe with Reflector and Small White Umbrella 5' from subject f/13, 1/60, ISO 100

1600 Strobe with Reflector and Large White Umbrella 8' from subject - f/8, 1/60, ISO 100
I started with the small umbrella at 5 feet from the subject in the first image.  Shadow not terribly harsh and lighting overall is a little brighter (not necessarily overexposed) but just brighter than you may want in a portrait.  After reviewing, the first image, I determined which direction the larger umbrella should move.  I figured in order to obtain the same type of lighting exhibited with the small umbrella (most notably how the shadow casts), I would need to make the large umbrella smaller by moving it farther away from the subject.  I ended up with the subject 8 feet from the light source and metered for correct exposure.  It seems that moving the light farther away from the subject with the large umbrella made the color value of the gray background change to a lighter shade of gray as compared to the darker gray seen in the first photo.  The skin tone of the subject also changes.  It always depends on the style you are hoping to achieve, but in a casual portrait such as this, I would think that the second image would be the best choice.